Total Pageviews

Thursday, July 7, 2011

More FRAME work


 Ok.. I have sanded, and leaded, and primed the bottom of the frame.   Here are SOME pictures..


Front frame horn


 Left side middle.
 Left side middle. I am still filling these pits.
 More pits, but getting better.
 Right side frame horn.
 Right center
 Center cross member
 Center Cross member
 Right frame


another coat of primer.. Letting it sit for the night. Will Nitro-Stan in the morning and weld up the rust holes on the right body mount today.

More to follow.

Wednesday, July 6, 2011

OK, it has been a week since I got the frame back. Looks pretty good. Jerry at Pennsylvania Metal Cleaning Co. does do nice work. www.pennsylvaniametalcleaning.com/


I started to prime and sand the frame. I stated with the bottom. After I get it READY to paint, I will flip it over and do the sides and top. I will then paint the complete frame at one time.


I started with a self eching primer. I could NOT grind down all the metal to have a smooth frame. I sanded/scuffed as much of the frame as I could. The first primer is a light green.


I also did the bottom of the cross member. Priming, and painting the inside will be tricky, but I will find a way.

Cross member all clean..


Now the cross member is primed. I will sand it and add a THICK primer to try and fill some of the rust pits.


The complete bottom of the frame has been sanded/scuffed. primed and sanded. I am now applying Nitro-Stan to help fill most of the rust pits. I will let it dry a day then sand and prime with a black lacquer primer.


More Nitro-Stan on the frame rails.

More Nitro on the rails..

Wednesday, June 29, 2011

June 29th, 2011

It has been 6 months to the day since I dropped the frame off at Jerry's shop. Almost $1300.00 later, this is what we have.


Well folks, it's been a while, AGAIN. I am back.. So is my frame. yes. I picked up the acid dipped frame today. It really looks good.


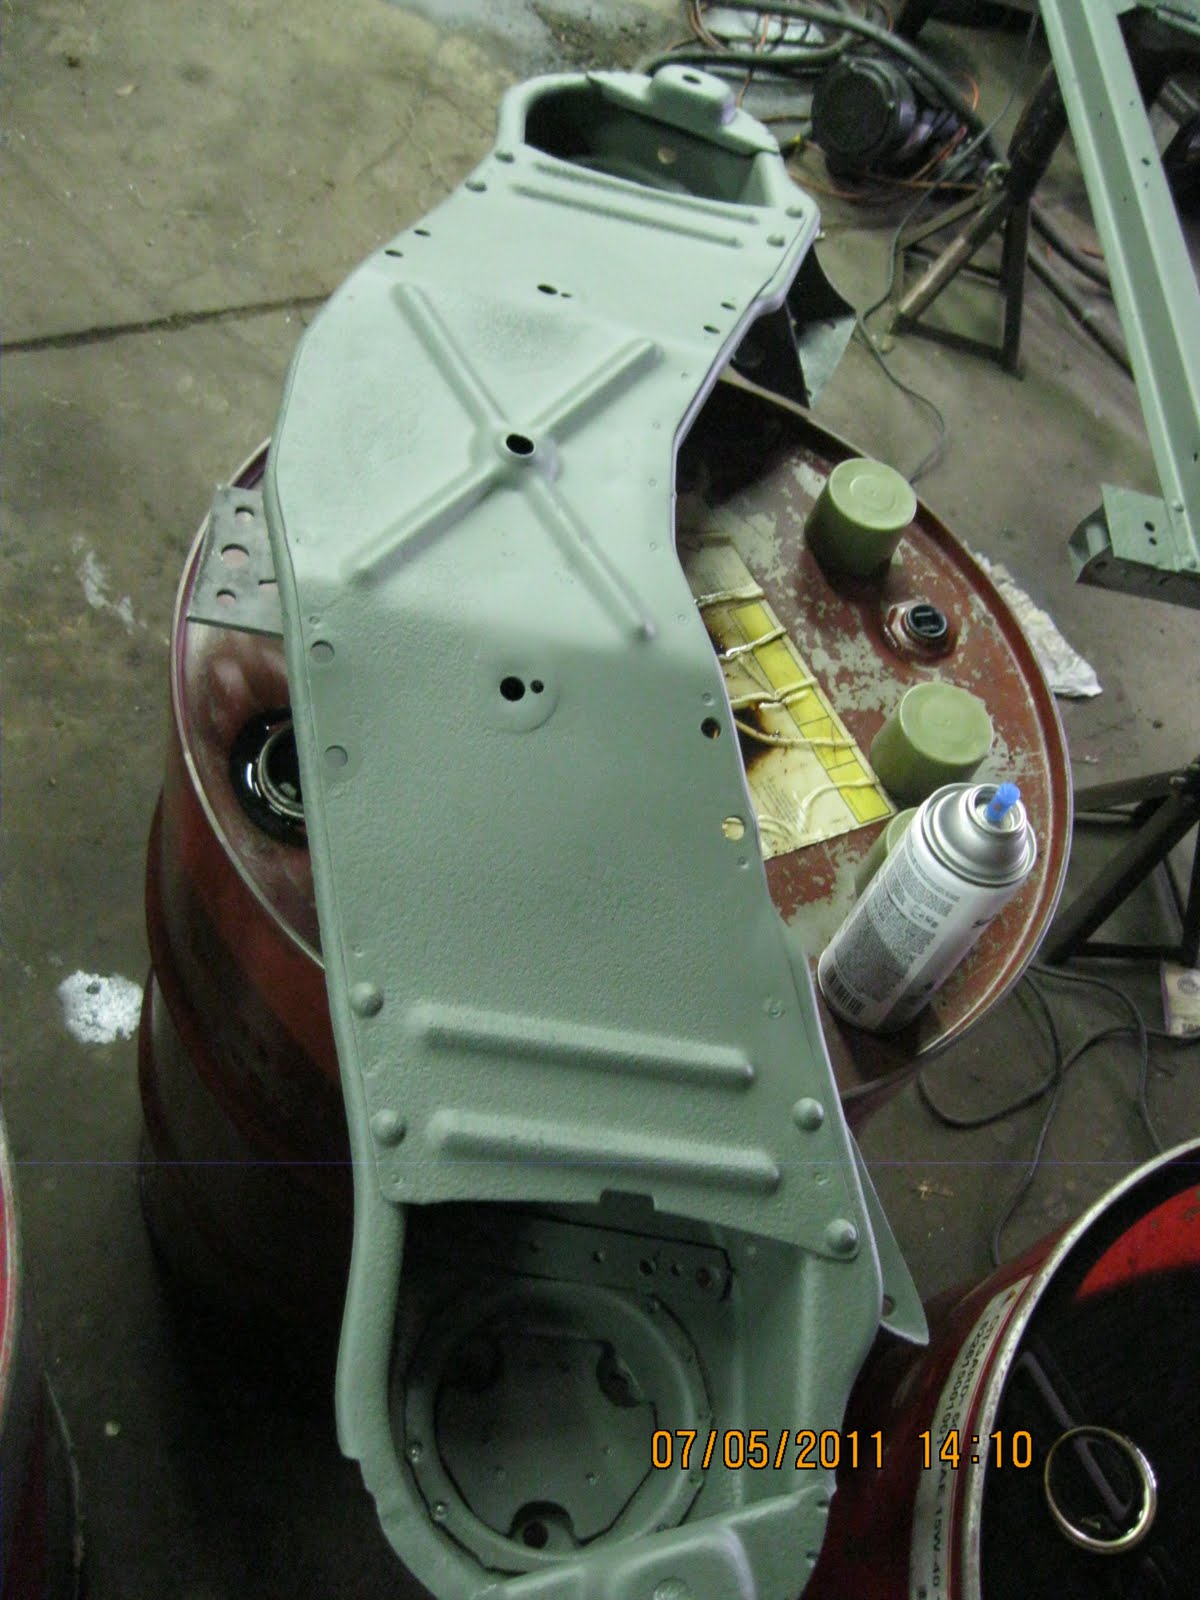
The cross member is in the truck so it hasn't been painted yet.


This is the frame after I got it ON the trailer. it looks like it was sandblasted, but, INSIDE is all the same, and the mounting spot still have the wear marks so it was NOT sanded.


I borrowed a trailer to haul the body up to Monaca, and bring the frame back. and the story goes.

I had "Bill" rebuild the front end of my truck while I was away. he put on brakes, rotors, ball joints, tie rod ends, idler arm, sway bar bushings, and wheel bearings. I went to pick up the truck, and called Jerry to see if the frame was done. The Guy, "Harry" next to Bills said I could borrow his trailer to do this. Bill had moved the body to the trailer 2 weeks ago so i didn't have to do that today.

I started by needing to go get the hitch part for my truck. I have 2. One with an 1 7/8th ball and one with a 2" ball. The trailer needs a 2 5/16 ball. Bill said, "Sure, look around back there.". Sure enough, I found one. I went to change the ball, and.. what else? The one i found had a 1 1/2" stud, and my hitch has a 1" hole. OK.. to Home depot for a new ball.

I got the new ball on, and the trailer all hooked up.. Fortunately, I bought a truck with a complete GM towing package. TRAILER BRAKES... Well, All is good. I drive away. I noticed that every time I touch the brakes, the trailer brakes lock up. This is NOT a good sign. I try EVERYTHING. NO good.

OK, so, I don't try real hard to solve the problem. I have never driven a truck, with a trailer, WITH trailer brakes before. I figure I am doing something wrong. None the less, I proceed. OUT onto US 79, the onto US 376.

OK, before you say how stupid I am. let me go on.

I get 26 miles down the road and figure I better do something before I get into traffic in Monaca. I test the brakes, YES, the trailer locks up the tires and slides.. NOT good. I look ate the trailer brake unit in the truck.. the light is blinking.. NOT a good sign. I manage to pull over about 4 miles before my exit. I figure it must be a loose, or dirty connection of the wire..

I remove and re-insert the plug in the connector 5 times. I figure that MUST solve the problems. I start to drive and all seem well..

Back up to 65MPH I tap the brake pedal again.. SMOKE from the tires tells me I might have a problem. Back to page one.

I figure at this point, NO trailer brakes, and no tail/brake lights is better than NO brakes at all.

SO. I pull off the side of the road again, this time, on my exit ramp, and i pull the connector and stuff the were where most people would not see it.

I proceed to drive to Pennsylvania Metal Stripping to pick up my frame.

Jerry and I have a great talk.. He shows me how clean he got it. He shows me where he had to drill holes, and what I need to do from here. ALL is good.

I drive back to Upper St. Clair in a normal, but very cautious manner.

After getting back, i discribe the brake problem to Bill, and to Will. Will suggest we blead the brakes on my truck, as he had to remove one line to work on the front end. We bleed the front brakes and my brake pedal feels NORMAL now.. Ok. Life it good.

Bill, on the other hand says, "Did you adjust the trailer brakes?" I said, NO, do you have to do that?" he says, "I thought you knew that or I would have told you."

Sometimes, you have to learn the hard way..

Anyways.. here's a few pictures of the body as it was on the trailer too..


Outside my house. I had to stop to pick up the camera.


This is now sitting in the field next to Jerry's place. It is sad to see it there. I am hopeful it won't be there for 2 years.

Looks like an old car was abandoned in a field someplace.

More to follow, I am sure..

Will be priming and painting the frame this week.. Next week we start to put together a rolling chassis.

Thursday, April 21, 2011

April 2011 progress


Well, it's been a while since I posted here. I have been working on the rear end and the gas tank this week. The Rear is done, new seals, gaskets, brake shoes, brake cables, lines, springs, and wheel cylinders. I will install the rear leaf springs once I get the frame back and painted.


It is painted with Semi-Gloss black. The frame will also be Semi-Gloss. I believe the factory used this when they made the car.

This is the gas tank. When I got it back from the stripper, it was full of holes. I figure there were 1000 holes in the TOP of the tank. What I have done is used solder and a flux to fill all the holes. I will cover the top of the tank with Fiberglass to make sure i got them all. I will also seal the inside of the tank. This way I get an original 1940 gas tank.


It is hard to see all the patches, but every bump is a spot. Some of the places the solder flowed very smooth, but, I was just learning how to do it.


I have a new sending unit for the gas gauge, as well as a new gasket and screws. I am still waiting for the mounting pads. I bought a gas tank repair kit from Eastwood to seal the inside and make sure it doesn't leak.

Saturday, April 2, 2011

1940 Master 85 For Sale. CHEAP.

THIS CAR is FOR SALE. CHEAP.


Well, it's been a while since I was here. Yesterday, I picked up my 2nd 1940 Master 85. This one was bought for parts. All the chrome is good, and the fenders are in much better shape than my original ones. Actually, the whole car is in MUCH better shape than mine. BUT, it is a 2 door, so i can't just cut the floor out and use it. This car has had the front frame cut off and a Nova sub-frame welded in. It has a bare small block and a Turbo 350 sitting in it. It also has a nova steering box all set up. A brake master cylinder is mounted, but I don't know if it works yet. I am selling this car, with out the nose on it as i need it. I have extra fenders, hood, most of the sheet metal all in poor shape.


I am really looking for some place to STORE this while I remove the fenders and nose, I will be putting it on EBAY as soon as I get my parts off.


I will get back to work on my 1940 Master Deluxe on Monday. I believe my Frame will be ready by the end of next week. I ordered the primer and paint for the frame today, from Eastwood. I already have all the new suspension parts, Springs, shocks, bushings, clips, and brackets. The Engine is done, and the frame should take 2 to 3 weeks to put everything back together. The the BIG wait on the body.

Tuesday, February 22, 2011


Well, I have been sanding, and grinding the rearend and torque tube. LOTS of rust.


Some areas are vert tough to get to with the tools I have.. Working on getting in as much as i can.


I had to pull the rear cover so I can pull the axles to replace the axle seals. Getting the pin out has proved a little more difficult than an 80 nova rearend. But i will get it.


Here we are, mostly sanded. I still need to wash it with soap and water to remove and oil or grease.


OK.. i put on a coat of Rustolium heavy Rust primer. this is still VERY wet. I only did one sides at a time.. waiting for it to dry completely before I sand, and reprime. Then I will flip it over and paint the underside.


More of the tops side primed. Still WET.


Still very wet.. hope it looks this good painted.


More to follow... I am sure.

Sunday, February 20, 2011

The two newest additions to my 1940 chevy...


The new grill.. it is BEAUTIFUL.. sitting in the living room right now.. Along with the rest of the new chrome parts.


This is an original clock. it was part of the 2nd 40 Chevy I bought. Thrown in a box. It WORKS..

I do need to find a left front shock now. The original one was broken in half. Can't put that back on the car.

More to follow.