OK.. wait till you see the final picture....
Fuel line connection.
Fuel line.
More Fuel line.
New Tank.
New Tank.
Gauges for test run.
Parking brake.
Fitting in the fuel line to the fuel tank.
New Sending unit.
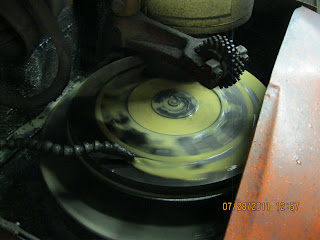
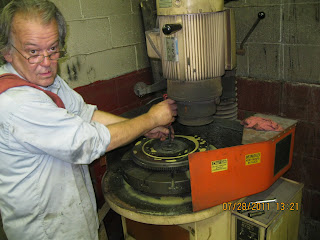
Set up the flywheel.
Turning the flywheel.
protect the frame now.
Wash the flywheel after turning.
Transmission is in.
tighten the clutch.
rear springs.
more rear springs.
torque tube.
Dad attaching the rear springs.
Dad working.
Dad STILL working.
Flywheel, and clutch.
All done.
Left front suspension.
Right front suspension.
front end.
BEAUTY!!!!
Total Pageviews
Thursday, July 28, 2011
Friday, July 22, 2011
Adding an engine.
Well, all the brake lines are in, Time to add the engine. Yesterday I could pick up the front frame. It was pretty heavy with the cross member and brakes, but it could be lifted. NOT ANY MORE...
Enjoy...
I added the bell housing as it has the rear motor mounts on it. No clutch, or flywheel yet. I need to have the flywheel cut today.
Looks good for a 70+ year old chassis.
Today I will add the Brake Master Cylinder and run the brake line across the rear cross member to the junction block. The master cylinder also has the clutch pedal included.
After the clutch is installed I can add the transmission, and then the rear end. I will need to install the Steering box to add all the tie rods and do a simple front end alignment. Sway bar link need to be added when the front end has some weight on it.
Brake lines
OK.. so I got the brake lines in.. All that bending.. to FIT.. then take them back out to spray them with clear to help slow down the rust.
Making an 180 degree bend is not as easy as it looks..
Under the engine. This is why brakes are done before the engine.
Under the engine and down the right frame rail.
All the way to the rear brake hose.
Not too bad for an amateur.
More in a bit.
Making an 180 degree bend is not as easy as it looks..
Under the engine. This is why brakes are done before the engine.
Under the engine and down the right frame rail.
All the way to the rear brake hose.
Not too bad for an amateur.
More in a bit.
Subscribe to:
Posts (Atom)


