Total Pageviews

Saturday, July 24, 2010

Front wheels

OK, since we last looked, the front brakes, hoses and lines have been installed. The master cylinder and pedals have also been installed. It must be time to put the front brake drums back on and add tires so we can begin on the rear brakes.

Off to my local NAPA store to get wheel seals. Let me explain. Inside your front brake drums, are "HUBS". inside these hubs are bearings. Well, bearings need lubrication. In this case, they need, Wheel Bearing Grease. Well, to keep the wheel bearing grease inside the hubs, and not all over your brake shoes, you need seals.


Back to our story. I head off to NAPA.. Nope.. their books don't go back to 1940. I go home and check things on the internet. Looks to me, like these front seals are the same as a 1953 Corvette. Everybody has parts for a 1953 Corvette. I head off to a different parts store. He can have them for me tomorrow. OK. I wait.

Not to be totally unproductive, I head back to NAPA to buy some steel brake line to make the lines in the back. I ask, while I was there, "do you have grease seals for a 1953 Corvette?" he says, "SURE". Ed is BACK in business. Armed with my brake lines, and my new seals, I am ready to install the front wheels.


OK.. What is the FIRST thing a mechanic does? Correct. VERIFY you have the correct part. Second, VERIFY that the correct part FITS. Did I mention, I THOUGHT 1953 Corvette and 1940 Master Deluxe used the same front grease seals? Well, either I am wrong, or I have the wrong part. Oh well, the correct ones will be here tomorrow.


First thing I do this morning is go to second part store and pick up the ordered seals. I am smart this time. I take the part the seals fit TO with me.

OK.. So, these don't fit either. WHAT to do now? Hello Internet?


YEP.. new seals ordered. $29.00 shipped to my door. BUT, I have to wait. EMAIL from website says 3 to 4 week delivery time. NOT good.


New seals arrive in 3 days. New seals FIT. Old seals were felt, new seals are rubber. I think the rubber ones will work much more gooder..

Time now to re-pack the wheel bearings.. ONE of the worst jobs you can do. Stacy says, "Why don't you wear rubber gloves?" OK.. So,, she thinks ahead. and, she BRINGS me rubber gloves. WHAT a great idea. it worked great. I am sure the grease would melt the gloves in a short time but the 20 minutes of use, they worked perfectly.

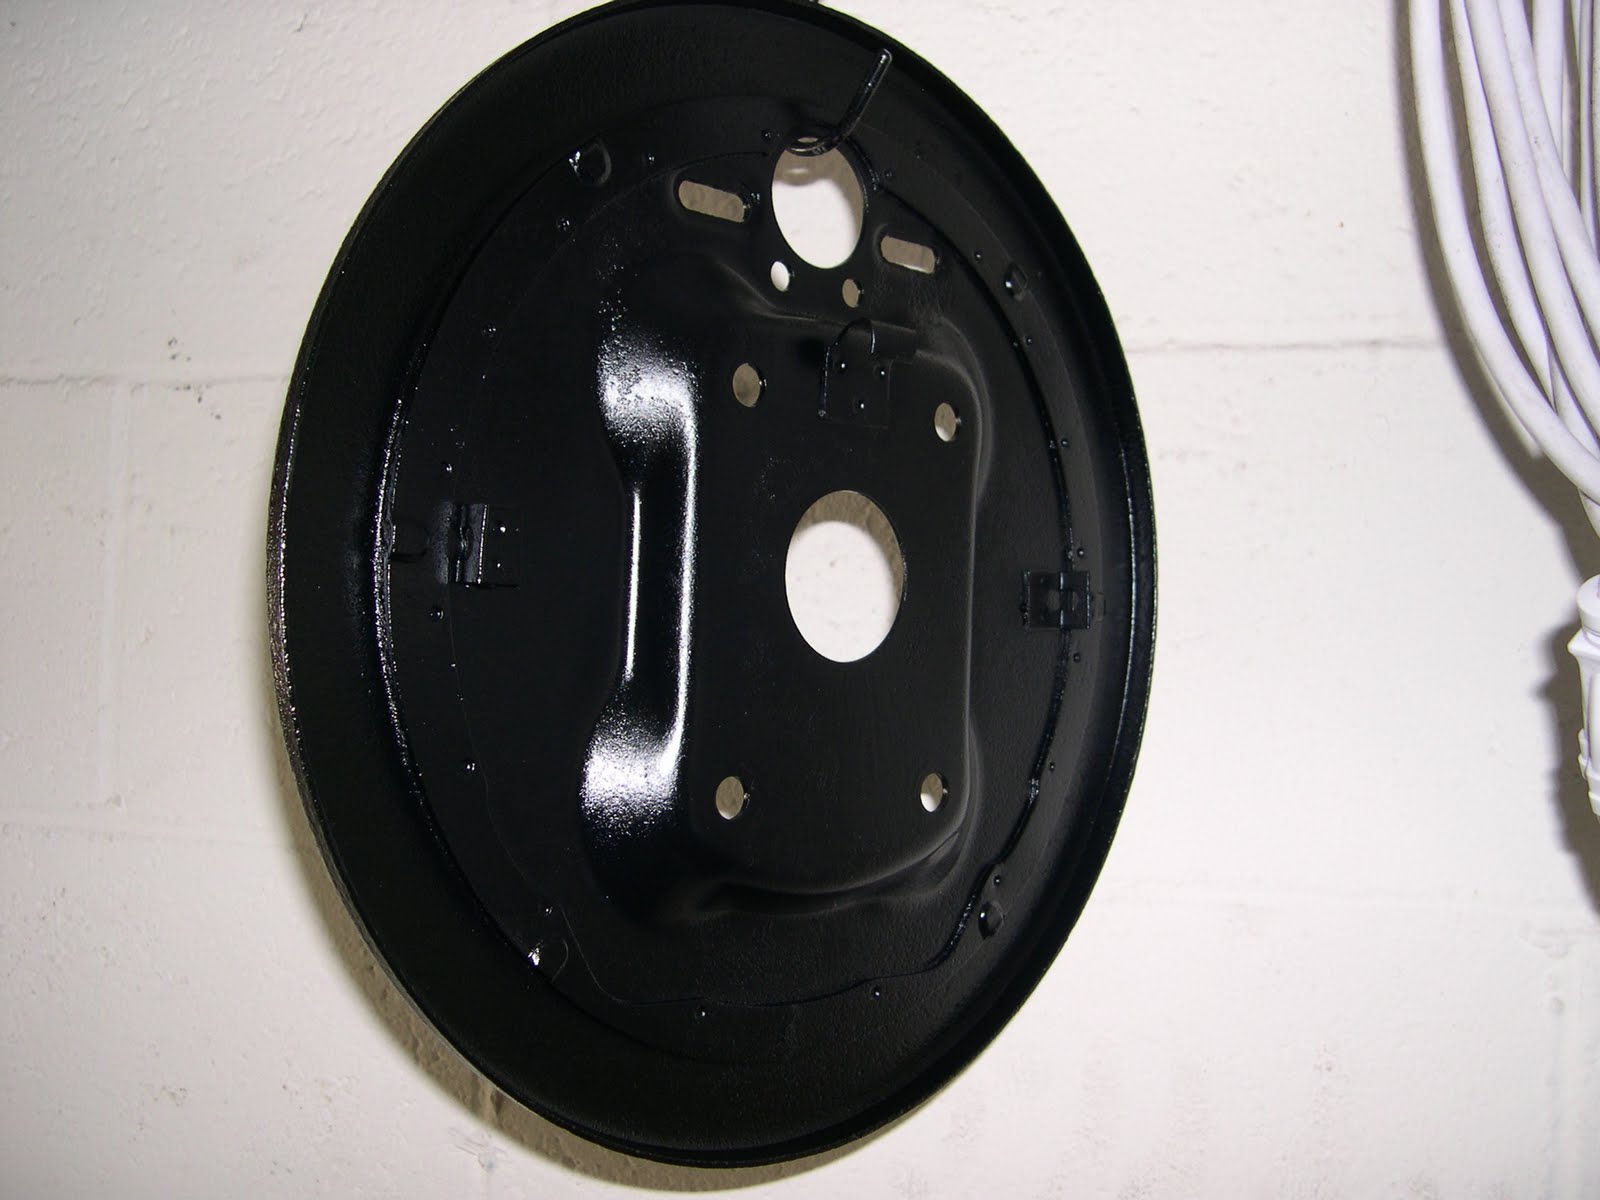
Front wheel hubs all packed with grease, new seals, and pained ready to be installed.


Time to install the brake drums on the front, and adjust the brake shoes. Pretty easy work here. Please notice, I did NOT machine the front drums. They were in very good condition and I can't see wasting antique iron just for a little rust, or warpage.


NOW... Front Brakes are complete. We can lower the front end and start on the rear brakes.


All wheels ON, time to start on the rears.
UP we go.. REMEMBER the JACK STANDS.....Safety first.


Wheels off.


Right Drum Off.


Left Drum Off. Oh look, Parts are falling off.. Looks like we have a problem.

We will get back to these....

Masterr Cylinder

Sometime over the past couple weeks, I worked on the master cylinder. When I started, The brake pedal went straight to the floor.


So, as seen in earlier photos, I pulled out the master cylinder. This master cylinder is also the mounting for the clutch and brake pedals. I pulled those out as well, sand blasted them and painted them a satin black, rather than gloss.
I disassembled the master cylinder and inspected the bore. It had some pretty deep pits from moisture. All I could do is try to hone it enough to make it seal. I took the cylinder down to a friends garage and asked what he thought. He said, "Hone it, add some old grinding compound and see what happens." So. THAT is what I did. After I wore out the first set of stones, I bought a new hone. I then wore out the second set of stones. After all this, I could still "see" the pits, but, i could NOT feel any pits. I found a rebuild kit at the local NAPA store for $16.95.. Good deal. Wish me LUCK..
I painted up the master cylinder, the brake levers, and re-assembled them. It sure looked good.

I also pained up the Pedals that went through the floor. I found new pedals pads for some small price, so I bought those as well. Painting the pedals a satin black as well.

Re-installing the master cylinder is not that easy. it is mounted under the floor, but above the frame. You have to put the pedal levers on it before you slide the master cylinder into place. Once in place, you can't really see it, at least not where you can reach it.

This is where the master cylinder lives. Red wires go to the stop light switch.

This is the hole in the floor. The black nut it the top of the master cylinder.

This is all you can see from the bottom of the car.
The view of the master cylinder, and pedal levers.


The brake and clutch pedals painted and installed. New rubber pads as well.

New steel brake lines from the master cylinder, across the cross member, to the junction block needed to be cut, bent and connected as well.

Day 5, Monday, June 28th 2010, and then some.


OK.. Let's see.. Over the past weekend, I sand blasted the backing plates. Painted them, as well as all the brackets. I painted the hold down springs as well. Mounting the brake shoes on the backing plate is pretty simple. Adding the new wheel cylinders was easy as well. The front brakes were ready to go on.


OK, now. The front wheel brakes are ready to go back on. I have new brake hoses ready as well. I will be buying, bending and installing the new brake lines as well.
The old brake hoses and lines were not in very good condition.


The new brake hose installed on the left front.Every brake line had to be cut, bent, double flared, and then connected.


Notice the shinny black just above the bending tool. That is ORIGINAL Shinny black paint. That is not a rust through hole.

Finally, the brake line is connected. This is actually over a 2 week span.

Monday, July 19, 2010

Day 4, June 28th, 2010. Wednesday.


OK.. Ed, with the help of Dad, got the 40 out of the garage. Ed got it washed, and some what running. Now it the time for some REAL fix'n.


Back about a year, or 2, maybe 3, my friend Jim picked up a set of brake shoes, 4 wheel cylinders, and 3 brake hoses for me. Life was going to be good. I have just about all the parts I need to completely rebuild the brake system. I figure i will have to buy new grease seals for the front wheels, and some steel brake lines, and rebuild the master cylinder, but hell, what could those cost?


So, I jack up the front end of the car first. I was going to jack the whole car up and put it on Jack stands till I remembered those wheel chocks. Doing front first then the rears seems to be a much safer way to work.


Jack stands are VERY important. I will just say, VERY important.


After securing the front of the car on stands, I removed the wheels, the brake drums, the brakes, and the backing plates. The car looks a little lost without wheels on it.

At this time, I also removed the Brake Master Cylinder, as well as the brake and clutch pedals. The pedals are 2 piece and the bolt, hinge on the master cylinder. The master cylinder will need to be rebuilt. I found a new one, but at $160.00 it's a little steep right now. We will cross our fingers and hope the original is rebuildable.


After removing all the brake parts off the front of the car, I gathered all the parts and headed home. I will rebuild everything at home and come back next week to install them. The front shoes are in very good shape so I will reuse them on the rear. The backing plates need to be sand-blasted, master cylinder rebuilt, and the brake drums turned. I did wash the front drums out before I left. Wish me luck.

Tuesday June 27th, 2010

Well, we backed the car out of the garage. Did I happen to mention, dad's driveway slops INTO the garage? I didn't, well, it does. Did I happen to mention that I tried to put on the brakes? Well, I did, it didn't. So, We back the car out of the garage, up the slope, and, well, it rolls right back into the garage.
Plan B.
OK, so now, dad stands along the car with a wheel chock. When I get all the way out of the garage, he put it in front of the rear wheel. That worked. At least it slowed the forward progress enough to place a second on on the other side.

ok.. Wash, clean, check fluids. pressures. Add air to the 30 year old tires.

OK, the 40 Chevy is out of the garage, Clean, and running. Let it idle till it got up to temperature of about 180 degrees, indicated. It is still running on 5 cylinders, but, we only needed it running enough to back it out. We did notice when backing it out that it was VERY difficult to get it into gear, both 1st or reverse. (This is something that needs to be corrected before it is driven)

After shutting off the engine, I checked the oil again. it is a little low on the dip stick, but we are sitting with the nose pointed down. This is close enough for now. Note to self, Self, Change oil. I dod look around to see if it had ever been converted to a spin on oil filter. To my surprise, they is NO OIL FILTER on this car. This was built BEFORE GM thought they were required, and when you changed your oil every 1500 to 2000 miles. (But it took you a year to get 500 miles on your car).. OK.. NOTE to self again, CHANGE OIL SOON.

Sunday, Day 2.

After a lot of thinking, I figured the coil, along with the points and condenser had to be bad. This is not a good thing. The coil in a 1940 Chevy is NOT an off the shelf item in 2010. So, Sunday morning I headed off to NAPA. If you don't know, NAPA is, Nation Automotive Parts Association. Of, as we say in the auto industry, Never Any Parts Available. I was in luck. the store HAD points and condenser in stock. I did ask about a coil, no such luck. I then asked if they had ANY 6 volt coil in stock. They did. And the price was? only $45.00. OUCH.. I was NOT about to spend $45.00 on a guess. That is one thing i really hate doing, Throwing parts at a car hoping to make it work.
I took the point and condenser, a set of "blue" spark plug wires and headed off to dad's. Being the HIGHLY skilled mechanic, I used all the proper tools to install and adjust the point. MY EYE, and a screwdriver. (So much for feeler gauges). I installed the new wires as well.
I called Dad and asked if he would push the starter button so I could check the spark again. Well folks, we now have spark. This was a HUGE step. I put the last spark plug wire, actually the coil wire into the distributor. Dad left to go back in the basement. I walked around, sat in the driver seat, turn the key, and stepped on the starter. HOLY CRAP. It STARTED. OIL PRESSURE. Generator CHARGING. I couldn't believe it was running. Remember yesterday? that SMELL? that was gas. Very OLD gas, but gas.

5 cylinders. Yep, 5. So much for my calibrated eye on adjusting the points. We will get to that in a couple days. But first. BACK it out of the garage so it can be washed. Do you have ANY idea how much dirt and dust falls on a car in 20 years?
Let's get the soap out..

Starting


The very first job I took on was getting this running. I know it had been sitting in my dad's garage for 10-15 years with out being started. The battery in the car was dated 7/1988. That being said, the battery HAD to be replaced. A trip to Battery Plus found a replacement 6 volt battery for $73.00. Not too bad. The battery cables seemed to be in "OK" shape with very little corrosion. The batter tray was remarkably complete. While there is surface rust on it. There are NO rust throughs. Now the engine would crank. I installed the battery on a Saturday evening, June 26th, 2010.

After some cranks, and NO fire, I started doing some checking. First, I checked for Fuel. YEP, I could smell SOMETHING in the carburetor. ANYONE that has worked on a car that has been sitting knows the smell I am speaking of. It sure don't smell like gas.

Anyways, I then check the ignition side. Yep, the point were in BAD shape. The wires were not what you would call flexable. So, I cleaned and re-gapped the points, and tried NOT to break the wires off.
After some MORE cranks, I figured something must be wrong. Fortunately, about every 20 or 30 minutes, Dad would show up and say, "Anything I can help with?". This time there was. I couldn't push the starter button and check for spart at the same time.

Dad push the button, I checked. BAD news here folks. NO SPARK. well.. a little but not enough to fire the High Compression engine. OK.. Enough for Day ONE. It's too hot out, and it's time for dinner..

More tomorrow.